I’ve been eyeing colored doors. It’s starting to become a bit of an obsession. I search for them on Pinterest and Google. I was in awe of them at Bella Beach in Gleneden Oregon. I slow down on my drive to work when a new door catches my eye. Admiring the colored doors of others is different than committing to a colored door of my own, but I think I’m pretty close.
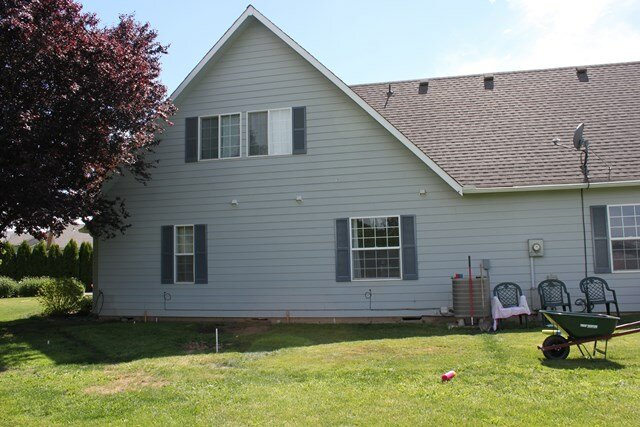
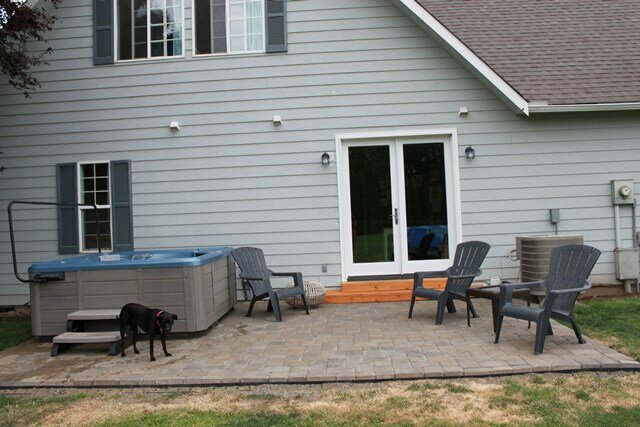
For now the exterior of our house is a very light blue. I want a door that goes well with the current color scheme.
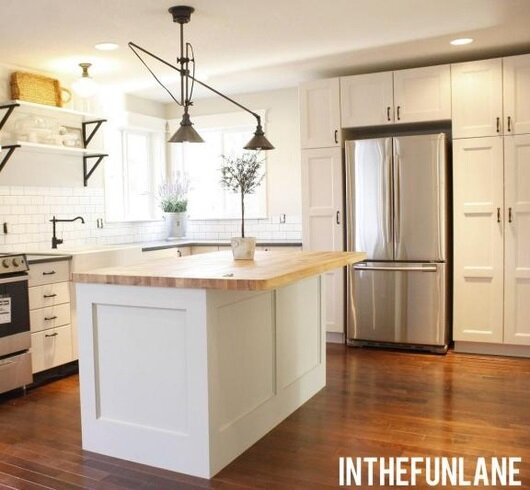
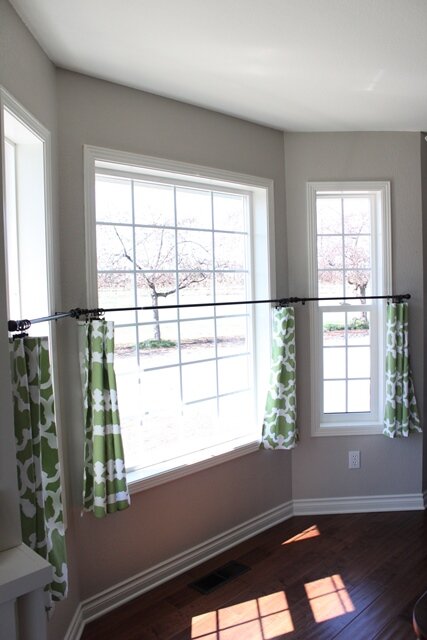
I considered fresh green to add a punch of fun.
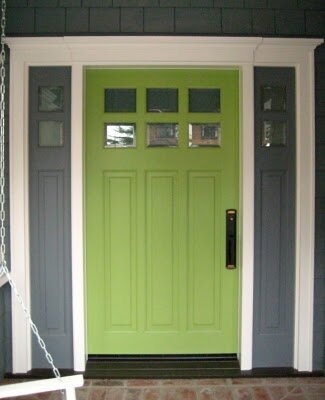
image via HGTV
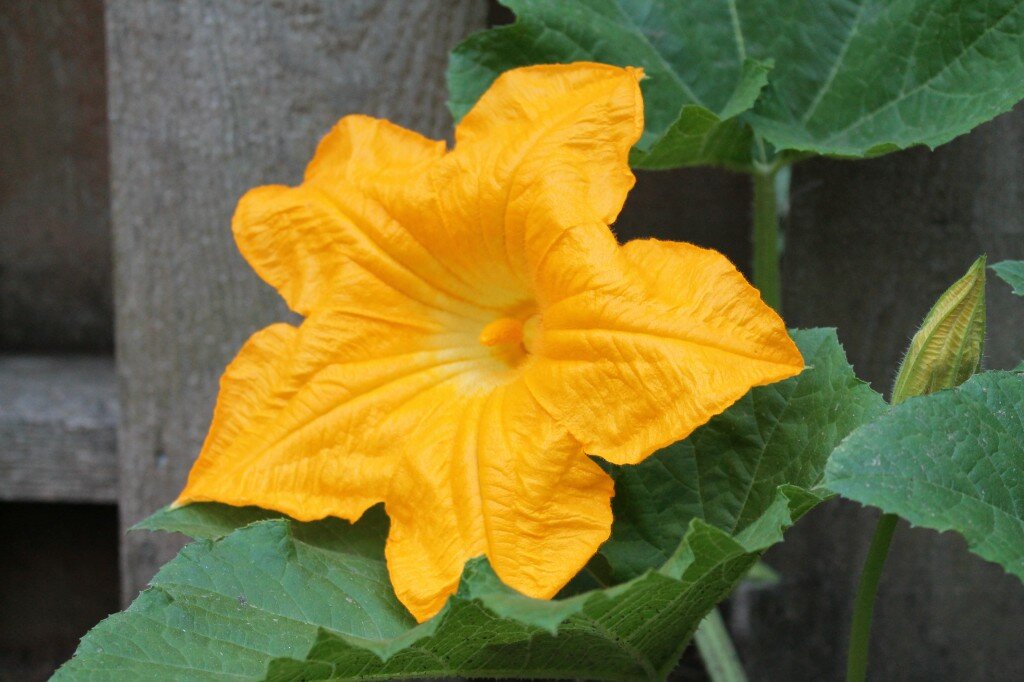
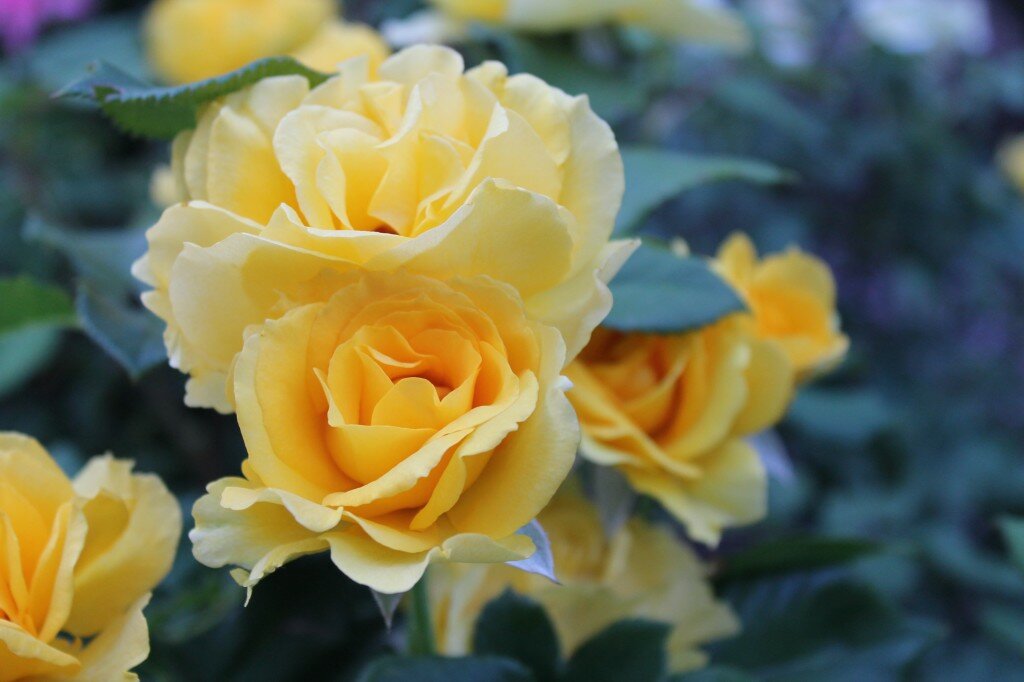
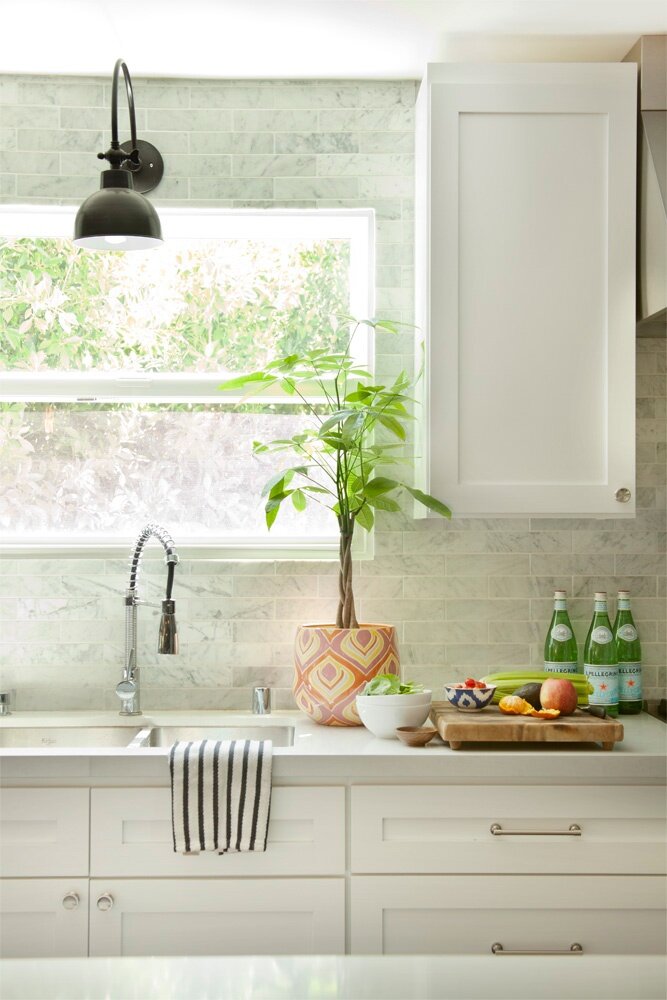
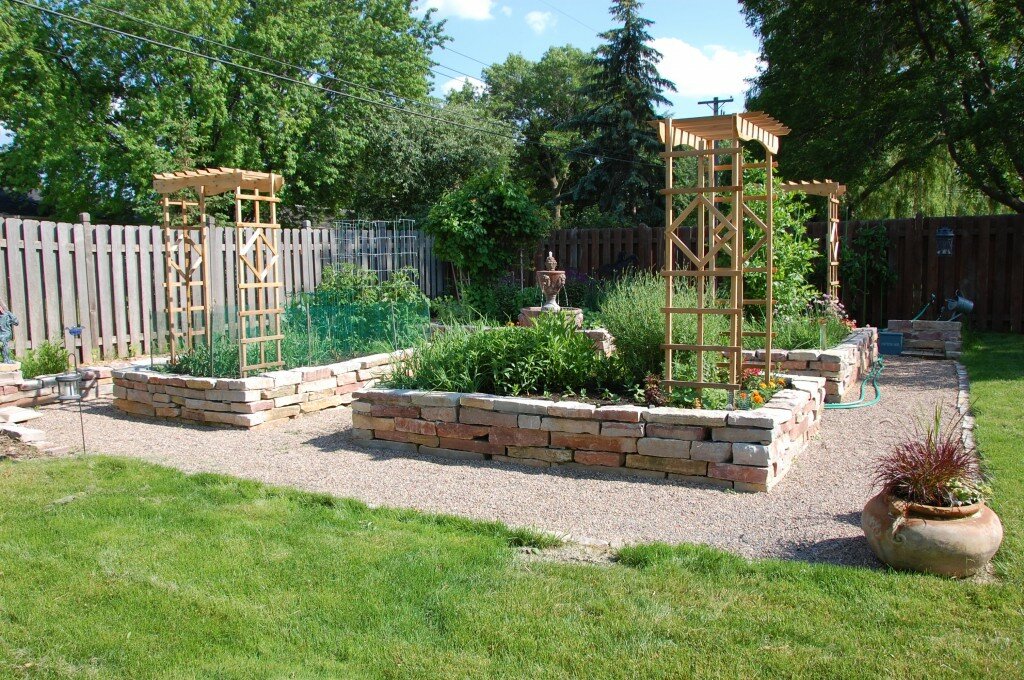
I considered yellow to add a bit of happiness.

image via Real Simple
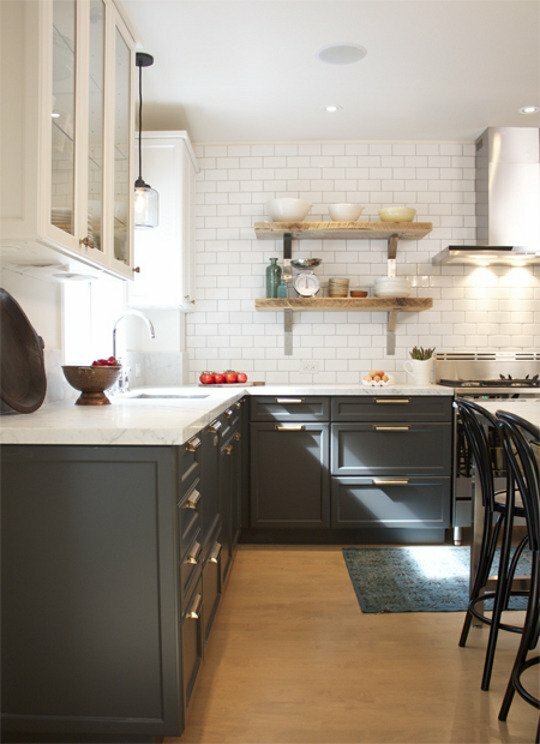
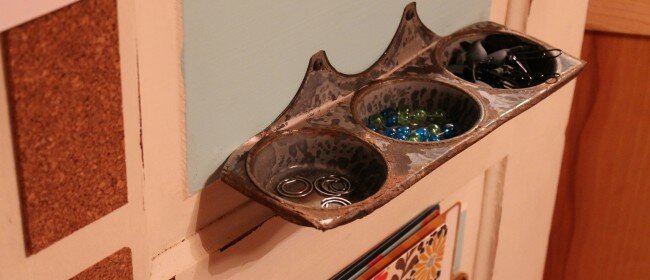
I considered charcoal gray or black to keep it classic and timeless.
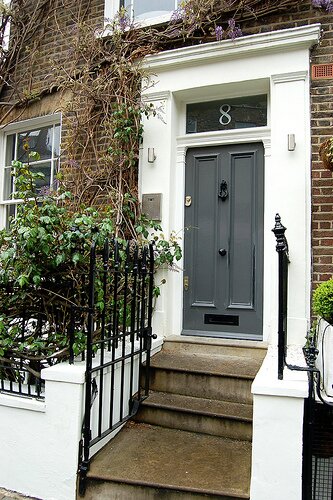
image via Brooklyn Limestone blog
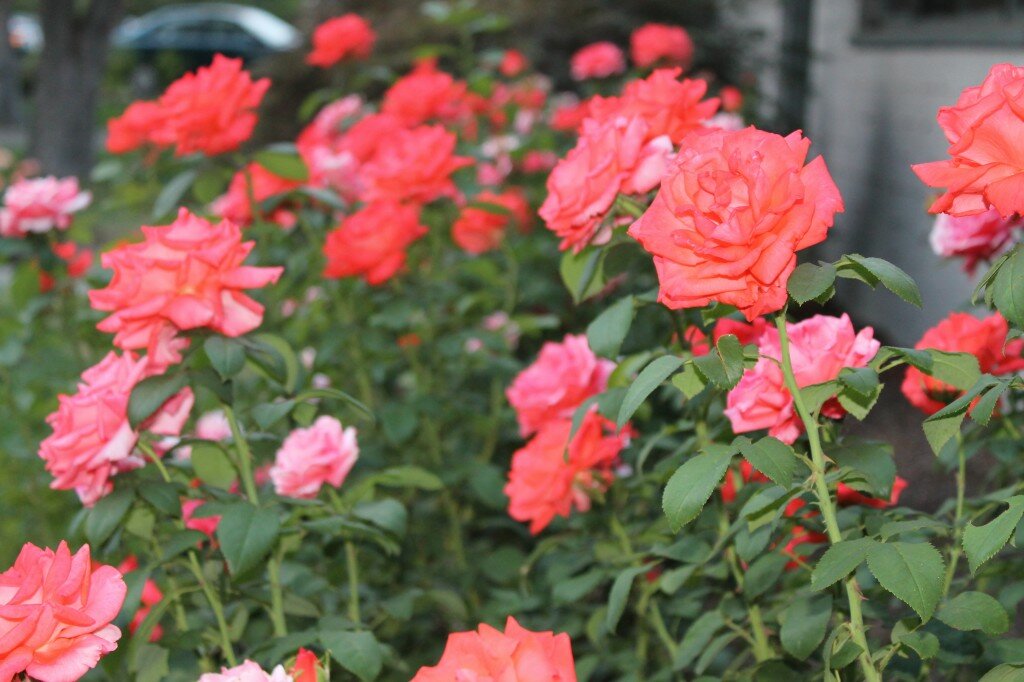
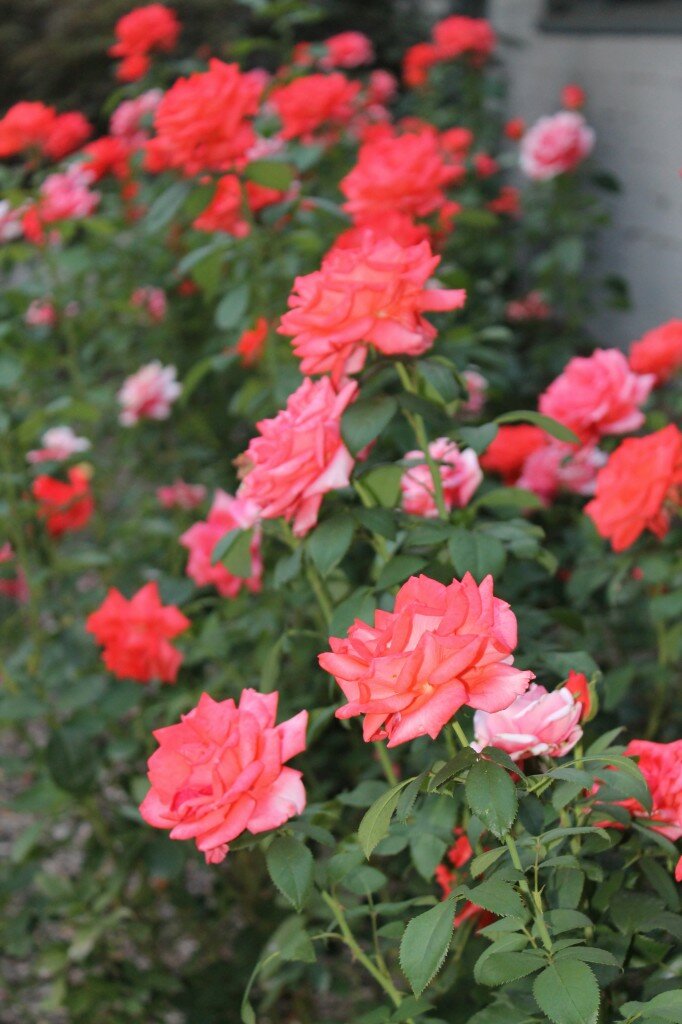
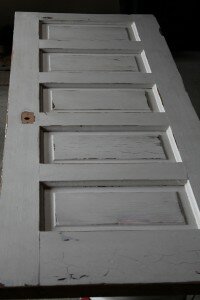
I considered red and orange as complimentary colors to light blue.

image via A Blissful Spirit blog
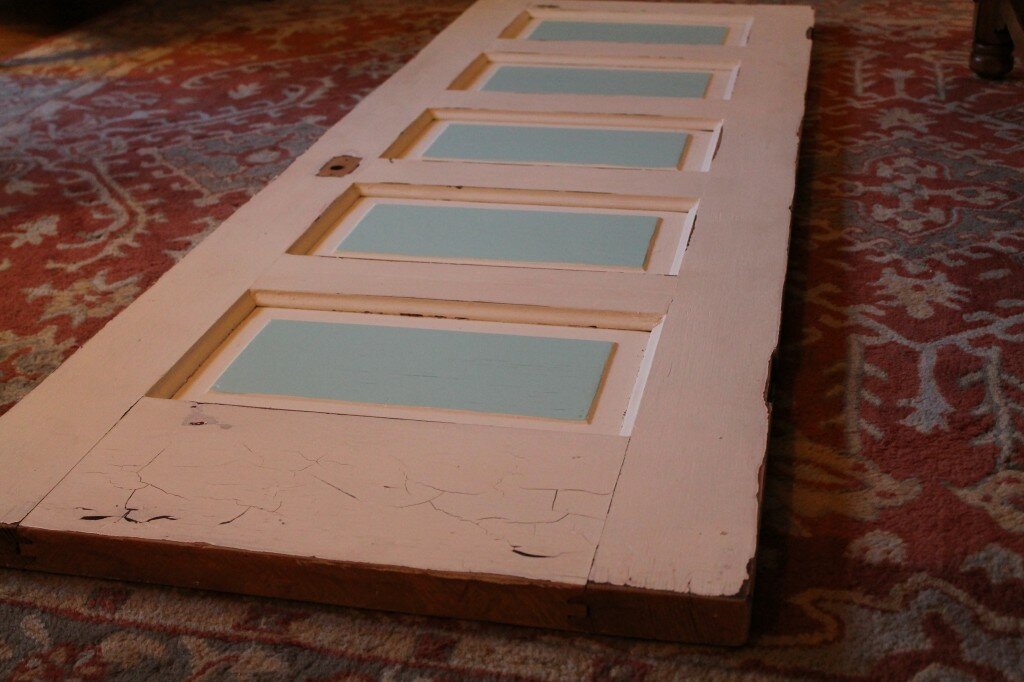
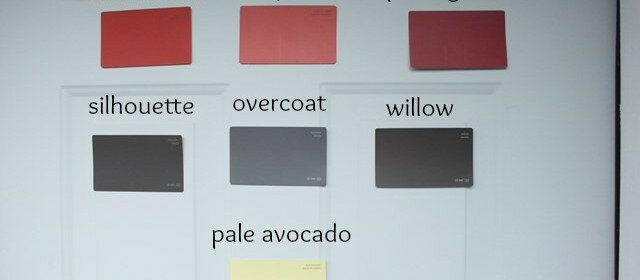
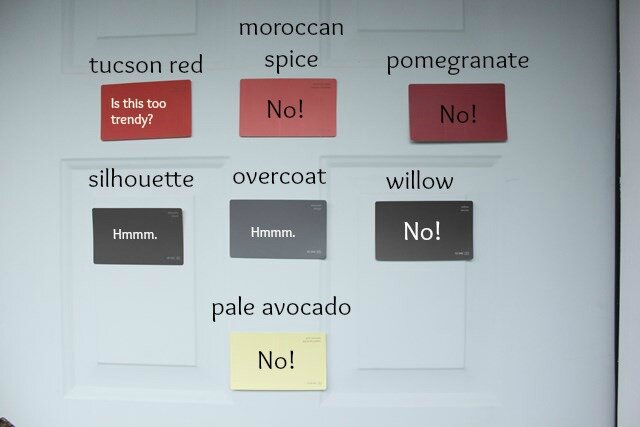
I finally had a moment to stop by the paint store to pick up a few swatches. I tacked these Benjamin Moore colors to the door for consideration:

I was able to quickly rule out green and any red that was too red or leaned toward purple. Kendall, Taylor and I were drawn to Tucson Red. But, of course, we needed to get Dylan’s input.
Our process went a little like this:

Dylan’s process went like this:
Pretty typical. ![]() I think that means three are kind of in the running. I’m leaning heavily toward Tucson Red. It’s a nice balance between rich orange and red. It compliments the house color nicely. And it’s similar to a color we used in our Seattle house that I still love. But, I’m also a sucker for classic and timeless.
I think that means three are kind of in the running. I’m leaning heavily toward Tucson Red. It’s a nice balance between rich orange and red. It compliments the house color nicely. And it’s similar to a color we used in our Seattle house that I still love. But, I’m also a sucker for classic and timeless.
What do you think? What would you go with?