A friend asked me the other day about a cabinet refinishing product. I haven’t tried any packaged products however, I do have tried and true steps that work for me when it comes to painting cabinets and furniture. And trust me, I’ve had a TON of practice these past 16 months. I’m not ready to do a kitchen reveal–far from it–but I will show you a sneak peek.
I used a step-by-step process to take the cabinetry in the house from dark and dated to light and bright.
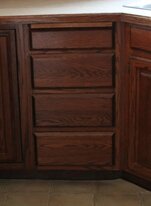
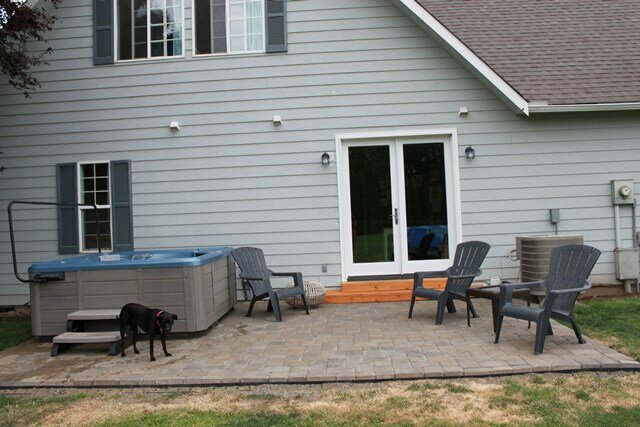
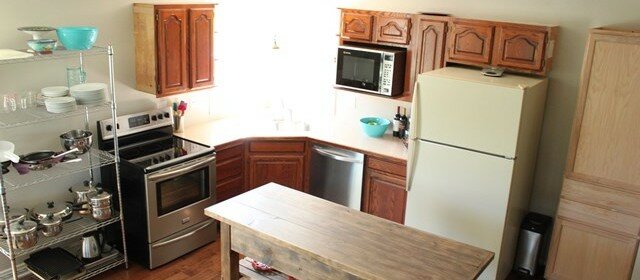
Before: dark and dated oak

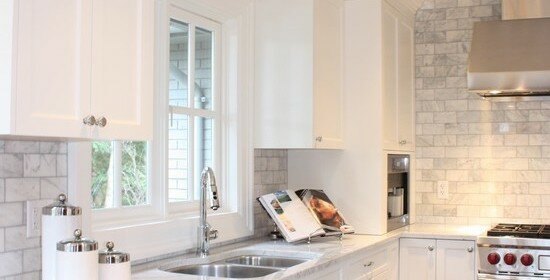
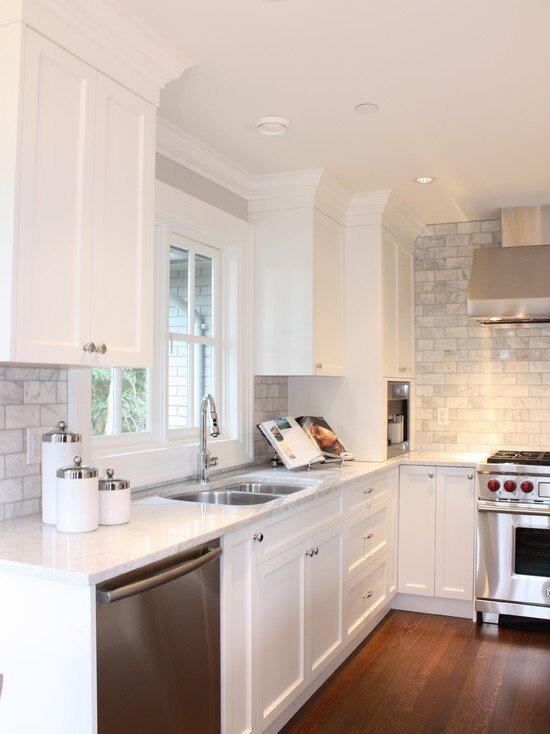
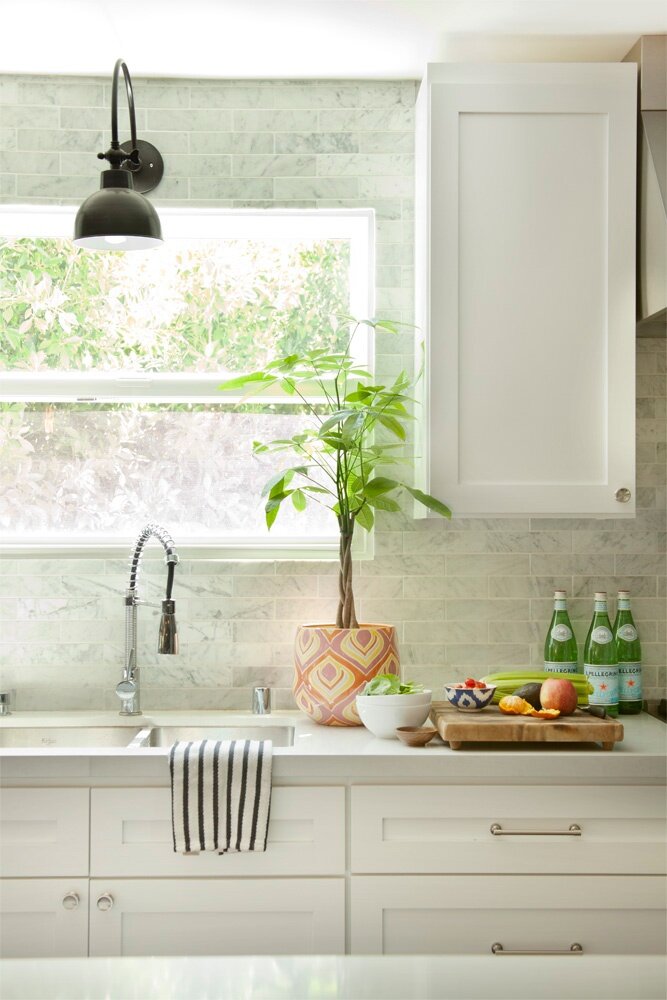
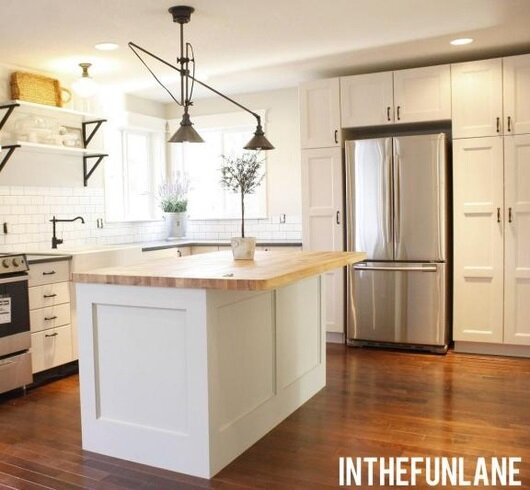
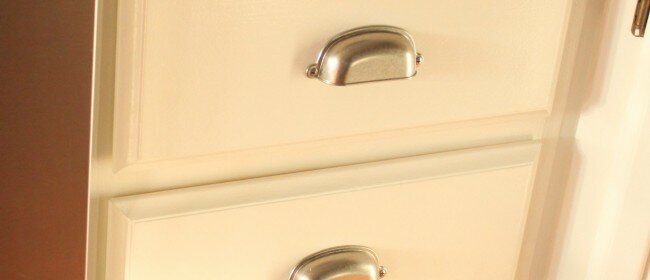
After: warm, glossy white
This is what you need to know:
Paint Quality Matters
Choose a high quality paint. Working with cabinets or wood furniture is not the time to skimp on quality–paint quality varies greatly. High quality paint costs more but will save you time, energy and money in the long run. If you use an inexpensive or basic paint, chances are you will have to repaint much sooner. I use Benjamin Moore Advance semi-gloss paint on cabinets, furniture and trim. It was recommended by a local furniture maker who made a couple of dressers for us. BM Advance has excellent coverage and leveling properties.
Right Tools for the Job
The old adage “use the right tool for the job” applies to painting too. I use a high quality angled brush and a 6 inch mini-roller with a 1/4 nap mohair blend cover–perfect for furniture and cabinetry. This combination of tools along with the leveling properties of the BM Advance paint leave the perfect finish.

Take Your Time
Painting furniture is a multi-step process. Don’t expect to knock out a set of cabinets in one weekend. The time and effort you put in now will ensure you are happy with the end product and that the paint lasts.
Follow These Steps:
- Remove doors, drawers and hardware. Set-up doors and drawers in a staging area (garage, shop, basement).
- Lightly sand all surfaces. You don’t need to remove the finish, you just need to rough it up. You can use a sanding block or a palm sander with medium grit sandpaper.
- Prime, let dry
- Lightly sand
- Prime, let dry
- Lightly sand
- Paint first coat, let dry 12-24 hours
- Lightly sand–your goal is to knock down any wood grain that is raised and rough up the top sheen. This helps the next coat of paint adhere better.
- Paint second coat, let dry 12-24 hours
- Mark and drill for your hardware if you are adding or changing knobs & pulls
- Lightly sand
- Paint final coat on cabinet/furniture frames. Let dry at least 24 hours. 48 hours is ideal.
- Hang cabinet doors and paint final coat on front of doors**
- Install drawers. Be sure to put round rubber disks on the corners of your drawers and cabinets so that they don’t stick to the frames and pull the paint off. They are inexpensive and you can find them in your hardware section.
**I complete the back sides of the cabinet doors first to prevent the fronts from getting marked up. Prime and sand both sides. Paint and sand the backs using steps 7-12 above. Allow to dry completely (24-48 hours). Turn doors over, use cardboard underneath to protect the new surface, and then paint and sand the fronts using steps 7-11. Hang the doors and do step 13. This process takes more time but the flawless finish is worth it.
Good luck with your project.